Installing and Using Tailwind CSS 4.0

Tailwind CSS 4.0 can be used in 3 different ways:
-
With the online tool called Playground, on the Tailwind CSS website. It’s basically an online editor with Tailwind CSS already included. Interesting to play with the framework and make quick tests.
-
Using the Play CDN, so you include the JavaScript in your project from a remote server, and you can start working.
-
Using the Tailwind CLI, installing the framework on your machine, and compiling the result in an optimized CSS file.
-
Let’s take a look at each of them.
Using the Tailwind CSS Playground
The easiest way to try Tailwind CSS is through the Playground. This is an online editor where the framework is already loaded, with a preview that updates as you type.
You have two ways to access this tool:
- By clicking on this direct link.
- Manually. From the official Tailwind CSS website, click on Docs. Then on the left side, there are some sections with an icon in each one. Click the one that says Playground.
There are two main parts in the Playground:
- The editor on the left-hand side.
- A preview on the right.
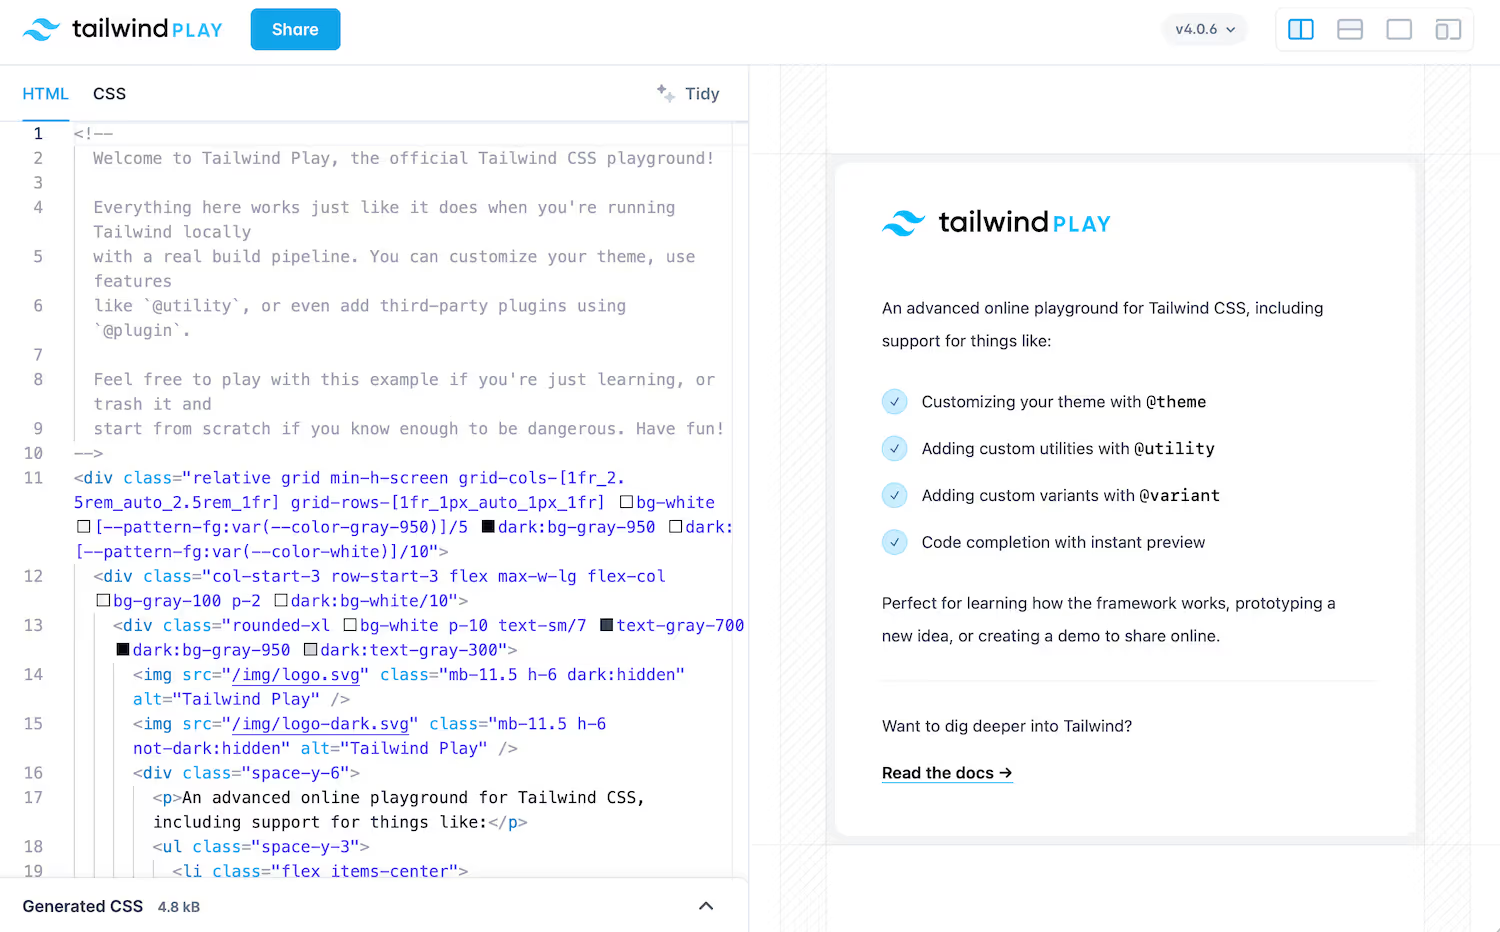
You will see that there is already HTML code in the editor. It’s an example that loads when you log in, so you can start modifying and experimenting.
Above (at the right), there is the loaded Tailwind CSS version. You will see the latest available for each major version if you click.
The editor (left side) is where you work with Tailwind CSS. It has features like syntax highlighting, auto-completion, color detection, and indentation.
Above the editor, there are 2 tabs:
- The first is HTML, the current view.
- The second is CSS, and contains the custom CSS. For now, it only contains the main import that loads the styles.
Using the Play CDN
If you liked the Playground and want something similar but using a code editor on your machine, you could try the Play CDN. It’s the fastest way to use the framework locally without installing anything.
<!doctype html><html><head> <meta charset="UTF-8"> <meta name="viewport" content="width=device-width, initial-scale=1.0"> <script src="https://unpkg.com/@tailwindcss/browser@4"></script></head><body></body></html>The script monitors the changes you make to the HTML by using the CDN, detecting the classes you use, and compiling the CSS in the browser in real-time.
All the features of the framework are available by default.
From here, you can copy your HTML from the Playground and paste it into the body tags.
I see the Play CDN as an intermediate step between the Playground and the next point, which is compiling your CSS code.
Using the Tailwind CLI
If you want to use Tailwind CSS more seriously, installing the libraries and compiling the final CSS code is the way to do it. That will also open the door to many advanced features you may need later.
Next, remove the script tag that loads the Play CDN (if you tried it).
Now, open the terminal, create a directory, and type this inside:
npm install tailwindcss @tailwindcss/cliWhen npm finishes installing, you will see that 3 new elements have been created:
- The first one is the node_modules folder. This is where those npm packages are stored.
- The second is package-lock.json It is like an index of everything in the node_modules folder, with version numbers, so that npm knows when something needs to be updated.
- And the third one is package.json, which contains a list of the libraries you have installed with the terminal, without their dependencies. For now there is only
tailwindcssand@tailwindcss/cli.
If at some point you want to update the packages you have installed so far, you can do it with this command:
npm updateWith the packages already installed, create the CSS file and import the styles:
@import "tailwindcss";The Tailwind CSS team also developed some useful plugins:
- Typography, to give a good default style to your texts.
- Forms, to provide a default style to forms.
If you want to install them, first install the npm packages:
npm install -D @tailwindcss/typography @tailwindcss/formsThen import them by using the @plugin directive in the CSS file:
@import "tailwindcss";@plugin "@tailwindcss/typography";@plugin "@tailwindcss/forms";Now the framework is configured and initialized. It’s time to create your HTML file. Let’s create one:
<!doctype html><html><head> <meta charset="UTF-8"> <meta name="viewport" content="width=device-width, initial-scale=1.0"> <link href="output.css" rel="stylesheet"></head><body> <h1 class="text-3xl font-bold underline"> Hello world! </h1></body></html>-
Notice the
linktag to include the generated CSS styles. -
Here we have an
H1tag with some Tailwind CSS classes:text-3xlsets a font size of30pxand a line height of36px.font-boldsets a bold font weight.underlineunderlines the text.
If you open the file, it does not have any styles applied. That’s because Tailwind CLI is not running. In the terminal, and from the project’s root (outside src), run this command:
npx @tailwindcss/cli -i src/input.css -o src/output.css --watchThis makes the following:
- Loads the Tailwind CLI, and instructs it to read the src/input.css file, and thus loading all the framework’s classes.
- Scans your project files and automatically detects the CSS classes.
- Writes the standard CSS styles to the src/output.css file.
- Keeps running, monitoring more file changes.
Reload the page and you will see the styled header.
Test your knowledge
-
What is the primary benefit of using the Tailwind CSS Playground?
-
When using the Play CDN, how are Tailwind CSS classes compiled?
-
When using the Tailwind CLI, which file imports the Tailwind CSS styles?
-
What does the
--watchflag do in the Tailwind CLI command?
Conclusion
Tailwind CSS is very flexible to install and use. You can use the Playground in your browser for testing, create a quick prototype using the Play CDN, or use the CLI to install it locally for your project.