How to Implement a Cookie Bar in Ruby on Rails

Selling a service or products online in the European Union obliges you to comply with the European cookie law. It consists of displaying a message to the user to know that the website uses cookies to track him. Because let’s be honest, is there any online shop out there not monitoring users? Analytics are crucial to see which product or page is the most viewed, or when and where visitors come from.
The European Union thinks this would violate the user’s privacy, so pages doing this should warn the user clearly. And the most popular solution is displaying a bar or a modal.
Until you have the user’s consent, you cannot store cookies in the browser. Thus, if the user doesn’t accept, the visit will not be counted. This is highly problematic for most sites, so many do not follow this rule and just display the message.
I’m going to show you how to implement a straightforward example of a cookie bar that will only install the Google Analytics cookie if the user gives consent by clicking the OK button.
For this we will use Ruby on Rails with the built-in JavaScript framework called Stimulus.
Sample Rails application
Let’s create a new Rails application step by step.
rails new eu-cookie-sampleGo into the project directory, and add the faker gem to your Gemfile:
cd eu-cookie-samplebundle add fakerNow create a Home controller with an index view:
bin/rails generate controller Home indexThis will also create a new route for you. Replace it with a root route:
get 'home/index'root "home#index"The final step to get your sample app ready is to display some random content. Replace the default contents in the index template with a call to Faker to generate some paragraphs:
<h1>Home#index</h1><p>Find me in app/views/home/index.html.erb</p><% Faker::Lorem.paragraphs(number: 40).each do |paragraph| %> <p><%= paragraph %></p><% end %>Start the Rails server:
bin/rails serverLoad localhost:3000 in your browser.
Your sample application is now showing a significant page enough to scroll.
Loading the cookies library
To handle cookies in the user’s browser, let’s use the js-cookie JavaScript library. You can learn about this library here: https://github.com/js-cookie/js-cookie
Ruby on Rails has a system for adding npm packages called Importmap. It’s as simple as adding a reference to the library you need to the config/importmap.rb file.
To do this there is a command called importmap.
Go to the terminal, stop the Rails server, and type the following:
bin/importmap pin js-cookieThis will download the library file from the default repository (jspm.org) and save it to vendor/javascript/js-cookie.js
If you check the importmap file you will see the new “pin” at the bottom of the list:
pin "application"pin "@hotwired/turbo-rails", to: "turbo.min.js"pin "@hotwired/stimulus", to: "stimulus.min.js"pin "@hotwired/stimulus-loading", to: "stimulus-loading.js"pin_all_from "app/javascript/controllers", under: "controllers"pin "js-cookie" # @3.0.5This library, along with the others that are included by default in Rails, are loaded from the layout, which you can find in the application layout.
The call responsible for this load appears before the closing head tag:
7 collapsed lines
<!DOCTYPE html><html> <head> <title>EuCookieSample</title> <meta name="viewport" content="width=device-width,initial-scale=1"> <%= csrf_meta_tags %> <%= csp_meta_tag %>
<%= stylesheet_link_tag "application", "data-turbo-track": "reload" %> <%= javascript_importmap_tags %> </head>
4 collapsed lines
<body> <%= yield %> </body></html>Building the message bar
Create a partial to build the message bar:
<div class="cookies-bar" data-controller="cookies-bar">  <p>We use cookies. Do you accept them?</p>
  <%= link_to "Accept", request.original_url, class: "btn accept", data: { action: "click->cookies-bar#allowCookies" } %>  <%= link_to "Reject", request.original_url, class: "btn reject", data: { action: "click->cookies-bar#rejectCookies" } %></div>
For simplicity, there is a very simple text in the bar, but in reality it would be necessary to add a link pointing to some legal text and instructions to delete cookies.
As you can see, the div has a data-controller attribute. This is to indicate to Stimulus that the JavaScript controller we are going to implement should connect to this element.
We have also added a click action to each button, which is pointing to the controller we are going to implement, and calling the appropriate method.
Now include it in the application layout, just below the yield call:
  <body>    <%= yield %>
    <%= render 'layouts/cookies_bar' if cookies[:allow_cookies].blank? %>  </body>
This code is checking whether the cookie named allow_cookies is not set. In that case, the bar is displayed.
Additionally, you could display this partial only for the production environment this way:
<%= render 'layouts/cookies_bar' if cookies[:allow_cookies].blank? && Rails.env.production? %>Refresh, and you will notice your bar at the very bottom of the page. But it is not sticky and has no styles. So let’s apply some.
Styling the bar
Create the CSS file and paste this code:
body {  font-family: system-ui;}
.cookies-bar {  position: sticky;  bottom: 0;
  padding: 0px 10px 5px 10px;
  border: 1px solid #9CA3AF;  border-bottom: none;  background-color: #F3F4F6;
  text-align: center;
  .btn {    display: block;    border: 1px solid #4B5563;    background-color: #6B7280;    color: #FFF;    padding: 5px;    margin-bottom: 5px;    text-align: center;    text-decoration: none;
    &.accept:hover {      background-color: #047857;    }    &.reject:hover {      background-color: #B91C1C;    }  }
  @media (min-width: 768px) {    display: flex;    max-width: 700px;    align-items: center;    justify-content: center;    margin: 0 auto;    padding-top: 8px;    padding-bottom: 0;
    p {      margin-right: 10px;    }
    .btn {      padding: 10px 20px;      margin-left: 10px;    }  }}
This is how the bar looks on mobile:
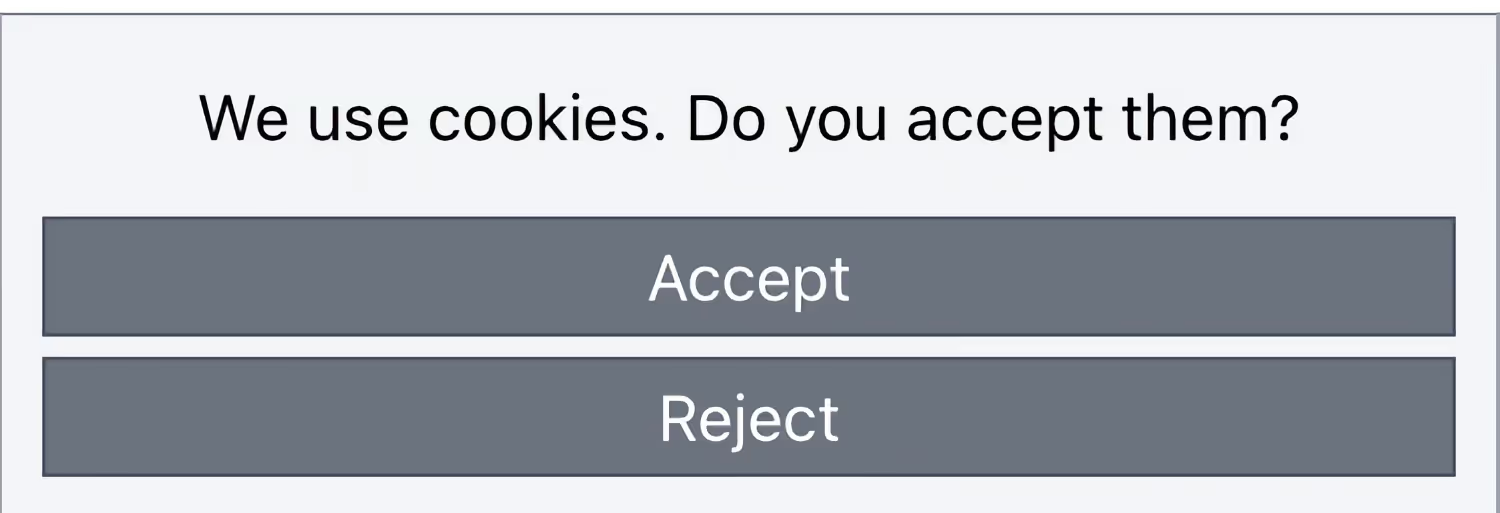
And this is the desktop version:

The JavaScript code
Create a Stimulus controller and paste this:
import { Controller } from "@hotwired/stimulus"
export default class extends Controller {  connect() {    if (this.areCookiesAllowed()) {      this.appendGACode();    }  }
  areCookiesAllowed() {    return Cookies.get("allow_cookies") === "yes";  }
  allowCookies() {    Cookies.set('allow_cookies', 'yes', {      expires: 365    });
    this.appendGACode();    this.hideBar();  }
  rejectCookies() {    Cookies.set('allow_cookies', 'no', {      expires: 365    });
    this.hideBar();  }
  hideBar() {    this.element.classList.add('hidden');  }
  appendGACode() {    const tagManagerScriptTag = document.createElement("script");    const eventsScriptTag = document.createElement("script");
    tagManagerScriptTag.src = "https://www.googletagmanager.com/gtag/js?id=G-DNJN1PF3CS";    tagManagerScriptTag.async = true;
    eventsScriptTag.textContent = 'window.dataLayer = window.dataLayer || [];\      function gtag(){dataLayer.push(arguments);}\      gtag("js", new Date());\      gtag("config", "G-XXXXXXX");';
    document.getElementsByTagName('head')[0].appendChild(tagManagerScriptTag);    document.getElementsByTagName('head')[0].appendChild(eventsScriptTag);  }}
Let’s see the code in detail:
- The
connectmethod is executed when the controller is “connected” to the HTML element. This happens automatically when loading the page.- It checks if the user has already accepted the cookies (this is where it uses
Cookies.getfrom the library you included from the CDN). If so, it appends the Analytics code.
- It checks if the user has already accepted the cookies (this is where it uses
- The
areCookiesAllowedmethod just checks whether theallow_cookiescookie has theyesvalue. - The
allowCookiesmethod is called by the “Accept” button. It sets the cookie to “yes” using the js-cookie library, with an expiration date of 1 year, and appends the Analytics code. Then it hides the bar. - The
rejectCookiesmethod is called by the “Reject” button. It sets the cookie to “no” instead, and hides the bar. - The
hideBarmethod just adds thehiddenCSS class. - The
appendGACodemethod builds thescripttags and appends them to theheadtag. Feel free to adapt the code to set your ID from Google Analytics.
Now try it!
- If you accept cookies, the bar will disappear, and the Analytics code will be added. If you refresh the page, the bar will not appear because the cookie is saved in the browser, and the Analytics code is re-added automatically.
- If you reject cookies, the Analytics code will not be added, and the bar will no longer appear until you manually delete the cookie from your browser. If you refresh the page, this behavior will be kept.
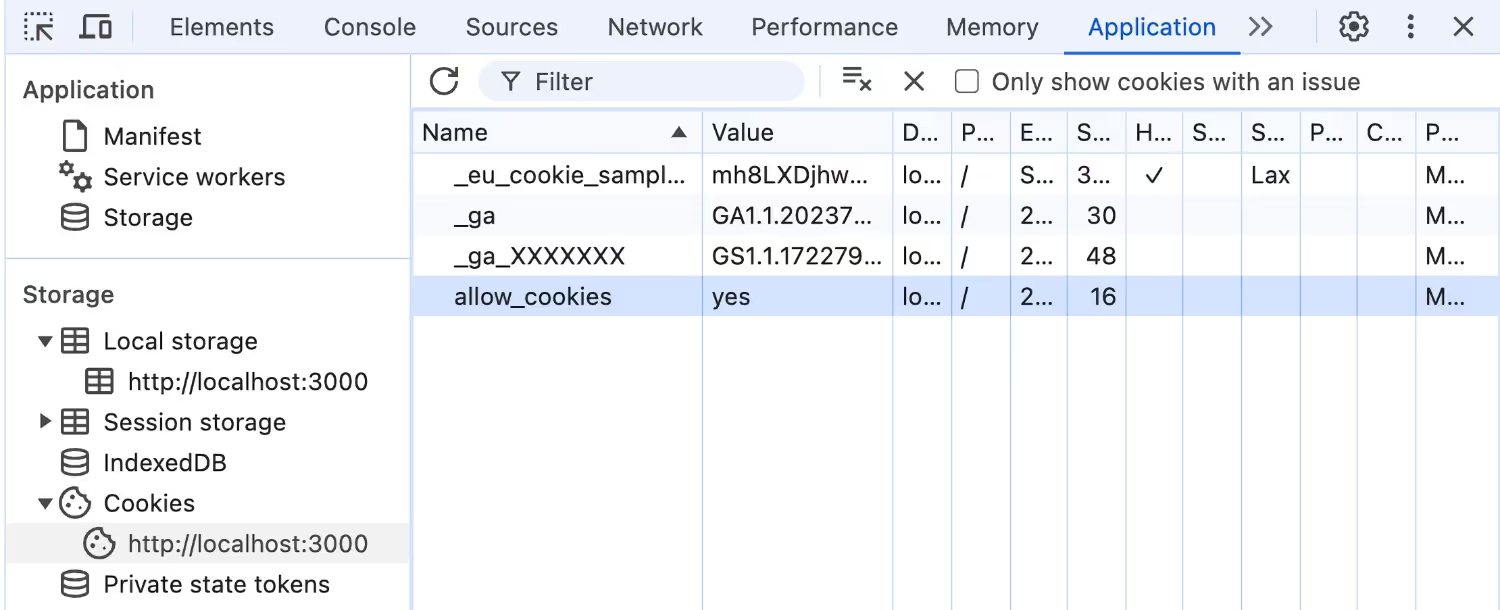
Open the developer tools and then the Application tab. There look for Cookies in the sidebar and expand it to click on the URL that appears. You will be able to see the cookie, its value, and you will be able to delete it.
Test your knowledge
-
How is the js-cookie library added to the Ruby on Rails project?
-
How does the code in the application layout check whether to display the cookie bar?
-
What happens when the user clicks the “Accept” button on the cookie bar?
-
What happens when the user clicks the “Reject” button on the cookie bar?
-
How is the Google Analytics code added to the page?
Conclusion
It’s easy to implement your solution to follow the EU cookies law. This way, you will control it better instead of using a plugin that limits you in some way.
I hope this law changes soon making this unnecessary, but meanwhile it’s a clean and straightforward solution.
I have uploaded the sample application to GitHub: https://github.com/develclan/eu-cookie-sample